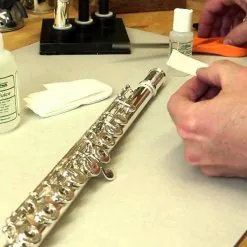
Copper Headjoint Fitting Strips
$6.65
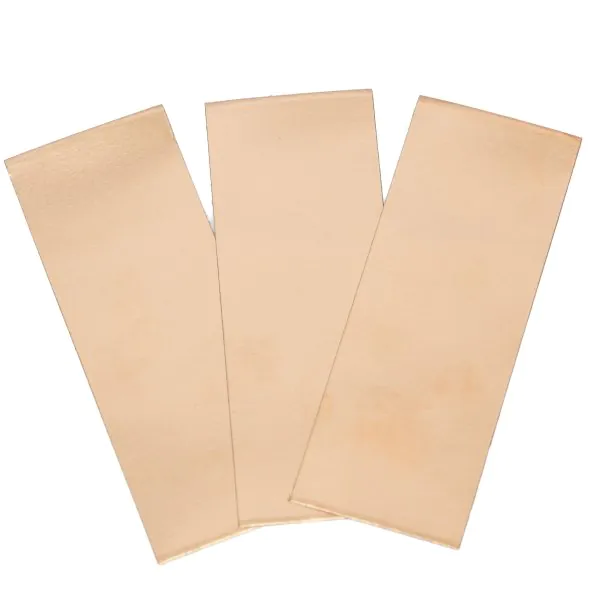
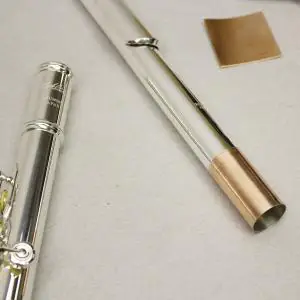
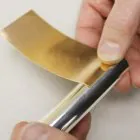
Finally a reliable, reversible solution for temporary and long term headjoint fitting! Our new copper headjoint strips are used for fitting headjoints to flutes when the headjoint is too small to fit securely. Peel-and-stick adhesive backing.
In Stock
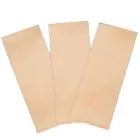
Finally a reliable, reversible solution for temporary and long term headjoint fitting! Our new copper headjoint strips are used for fitting headjoints to flutes whenever the headjoint is too small to fit securely. The peel-and-stick adhesive backing makes application simple. Three 1.5″ x 4″ strips.
If you have a headjoint that is too loose in the “box” (or headjoint receiver), you can use this product to fill the gap creating a proper seal and a secure fit. Since this is real copper, it creates a metal-to-metal contact between the headjoint and the flute body. Compared to tape and paper, this increases the acoustical performance of the headjoint and can be a great advantage when testing headjoints.
The strips are provided in a width that is comparable to the average length of a headjoint tenon (1.5″). Cutting the strip to different lengths, will determine how thick the buildup is. Therefore, for a greater gap, you’ll use a longer piece. You can also start with a small piece, then add another until you’ve created a good fit.
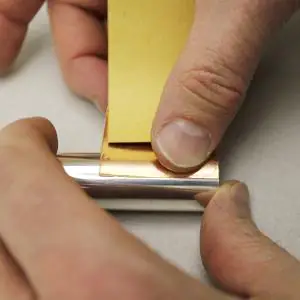
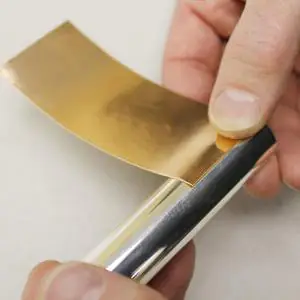
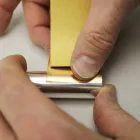
The material can easily be cut with scissors. Peel the material from the paper backing. Apply to the headjoint, then burnish the copper flat by rubbing it down with a fingernail. You may also run the tape completely around the headjoint and sand it to fit if necessary (see instructions below).
While we first intended this as a temporary measure, the material has a long life and can be used to great advantage when you don’t wish to permanently expand a headjoint to fit a certain flute body.
Further Application Instructions:
For the peel-and-stick adhesive to bond its best, clean the surface on the headjoint with rubbing alcohol or other degreaser.
Some judgment is required when decided how long a piece of copper is needed. You may start with a small strip and if the head is still too loose, add another piece beside the first.
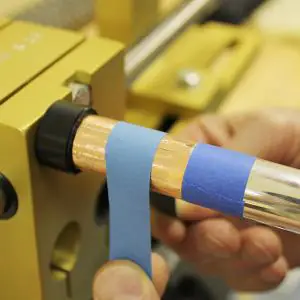
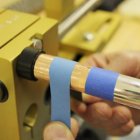
Certainly if there is a large gap, one can wrap the copper completely around and then sand to reduce (if needed). 400 grit silicone carbide works well for this application. You may wish to follow with 3200 Grit Micro-Mesh.To do this:
- Wrap the material around the headjoint without removing the backing.
- Mark the place where the overlap meets at top and bottom (we use an ultra-fine Sharpie for this).
- Cut the material (we use scissors) along the line between the marks.
- Peel off the backing, and having aligned the material at the start as well as possible proceed to wrap it around. Note: you may wish to do a “dry run” and wrap the piece around the head a few times to get used to proper orientation before you peel the backing off.
- Test the fit, sand to adjust as needed. Wrap painters tape around the headjoint above the copper to protect the silver from the accidental touch of the abrasive paper.
- With abrasive, gently sand the edge of the copper at the end of the headjoint so that there is not a sharp edge protruding.
To remove:
Very carefully pry a corner of the material up and then slowly peel it off. Be very careful of the sharp edge. Remember this is very thin metal that can easily cut you. Use care not to get it directed under a fingernail. Any residue can be cleaned up with a citrus-based solvent.
