This website uses cookies to improve your experience. We'll assume you're ok with this, but you can opt-out if you wish. Learn More
JLS Flute Headjoint Cork Tool Set
Batch Built$55.50
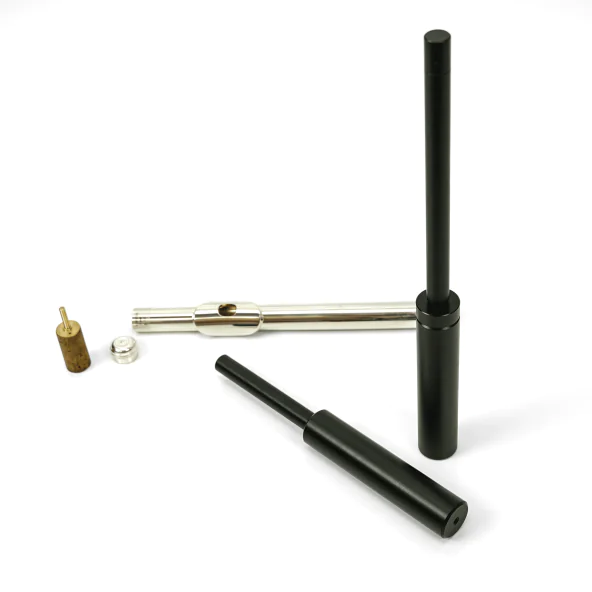
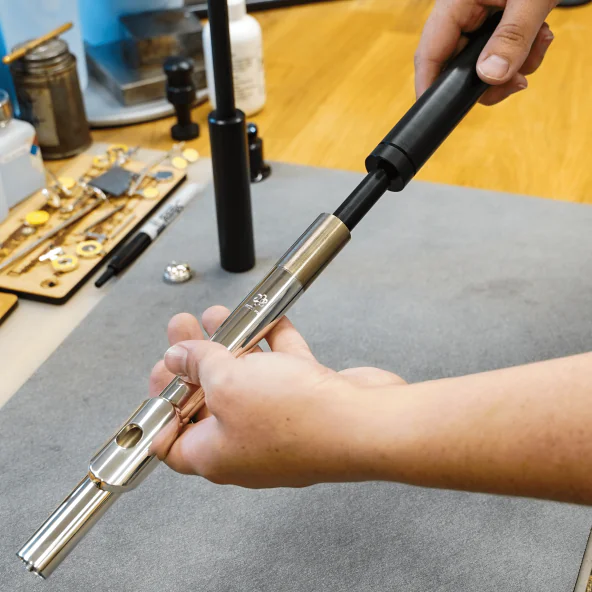
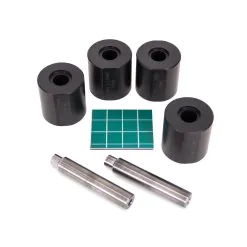
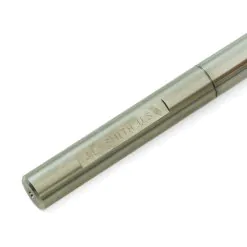
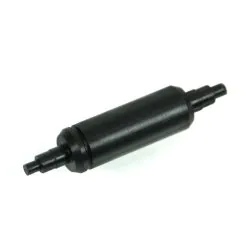
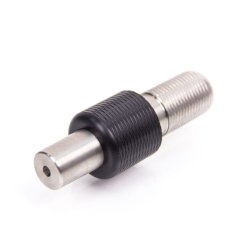
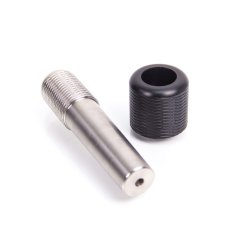
This tool set helps you remove the head joint cork and reinstall it later into the exact position it was previously in.
When removing a headjoint cork, it’s important to replicate its position for the client.
Advanced musicians in particular will notice that slight adjustments in the head joint cork positioning can affect the intonation and response of the flute.
29 in stock
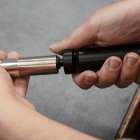
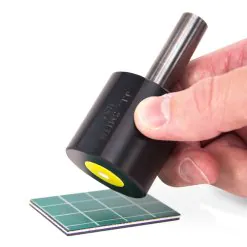
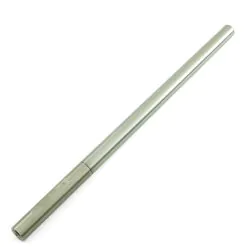
This is a set of two tools, one for installing the cork and one for removing it. The longer tool’s length can be adjusted to show the original cork location. After removing the cork carrier, the new cork can be installed to its former setting if desired. Both tools feature a stop that helps prevent hand pinching when installing and removing.
A Few Notes on the Importance of Headjoint Corks:
Of major note is a trend towards some very poor quality cork being used. We see that a lot of these cheap corks absorb water and begin to rot. This certainly creates performance problems. I have an additional concern that it may possibly create health issues from the growth of mold or bacteria.
At issue is that if the cork can absorb water, it is also leaking air. If the moisture from the breath gets past the cork plate, so does the air. If the air is getting up past the plate, it is leaking. Even if the air doesn’t escape the North end of the headjoint, it is leaking into the cork. To perform at its best, the headjoint needs to seal at the cork plate, not at some undetermined place further up the head. The rotted corks can be squeezed between the fingers at the Southern end. Replace any rotted cork, or any cork that shows water stains North of the cork plate.
If you’ve had customers complaining of intermittent performance problems (pitch, response and so forth) with their flute, consider that the flute will begin to perform better once it is “warmed up.” Once the cork fills up with condensation from the breath, it now seals better and will perform differently.
Please don’t take the headcork for granted. Check it on each and every flute you service. This will only take a minute, and will improve the consistency of the flute work that leaves your shop.
See my chapter on headcorks from “Servicing the Flute”.
Batch Built is a description we apply to our machined tools that are periodically made in batches.
Each time we make a new batch, the product’s design, function, specifications, and materials are reviewed with the design and production teams. We are constantly improving our tools and finding ways to make them more economically.
Although we work hard to ensure our essential tools, pads, parts and supplies are always available, Batch Built tools are not in stock at all times.
How can I order Batch Built tools?
If a Batch Built tool is out of stock it cannot be ordered, but you can enter your email address on the product page in the field “Email when stock available” and click “Notify Me”.
We don’t want to hold up orders that include Batch Built items if they cannot be delivered, particularly if those items are not yet on our production schedule and have no ETA.
Which items are Batch Built?
Click here to see a full list of Batch Built tools.
